We remain fully operational. Our teams are working around the clock to ensure your deliveries continue safely.

قم بتنزيل التطبيق


معلومات عنا
حقوق الطبع والنشر © 2024 Desertcart Holdings Limited
قم بتنزيل التطبيق


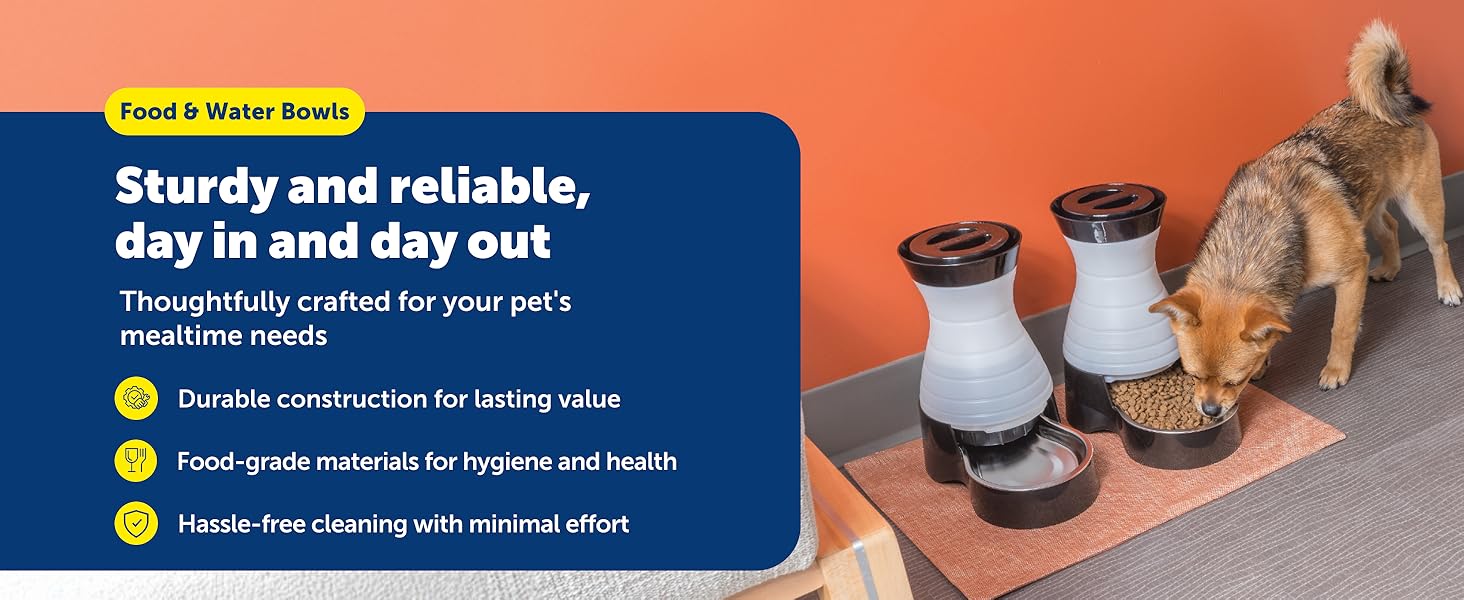
🐾 Feed Smart, Live Free — Because Your Pet Deserves the Best!
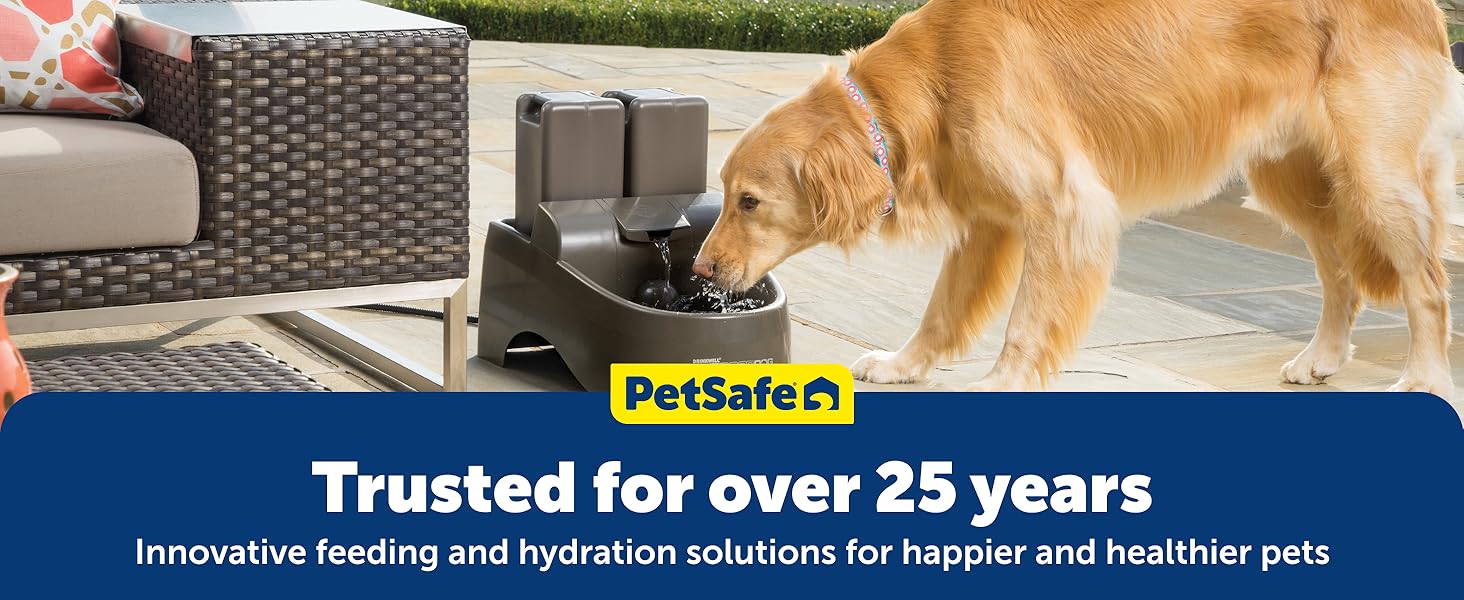
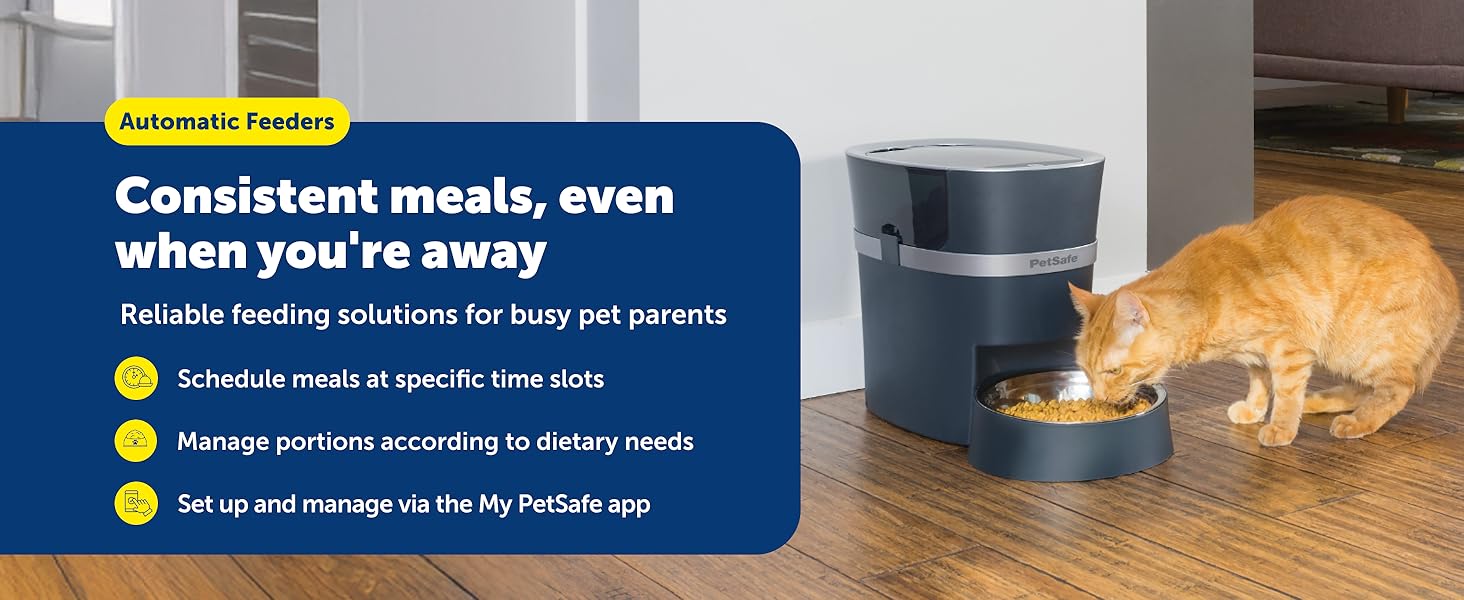
The PetSafe Automatic Dog Feeder offers a programmable 5-meal schedule with a 40 oz capacity, ideal for small to medium pets. Its rotating tray with five 1-cup compartments ensures precise portion control to prevent overeating. Battery-powered for flexible placement and featuring a dishwasher-safe tray, it combines convenience with durability. Trusted for over 25 years, this feeder supports a healthy, consistent feeding routine recommended by vets and trainers worldwide.


| ASIN | B000GEWHNS |
| ASIN | B000GEWHNS |
| Additional Features | Durable, Food Grade Material, Programmable, Refillable Storage, Timer |
| Age Range Description | All Life Stages |
| Are Batteries Required | No |
| Batteries | 4 D batteries required. |
| Batteries are Included | No |
| Best Sellers Rank | #24,045 in Pet Supplies ( See Top 100 in Pet Supplies ) #63 in Dog Automatic Feeders |
| Brand Name | PetSafe |
| Breed Recommendation | Small Breeds |
| Capacity | 5 Cups |
| Color | Taupe |
| Connectivity Technology | WiFi |
| Customer Reviews | 4.4 4.4 out of 5 stars (11,198) |
| Date First Available | October 2, 2001 |
| Department | Pet Supplies |
| Dog Breed Size | Small |
| Included Components | 5 Meal Pet Feeder, Product manual |
| Is Discontinued By Manufacturer | No |
| Is the item dishwasher safe? | Yes |
| Item Dimensions L x W x H | 15.5"L x 12.3"W x 3.4"H |
| Item Type Name | PetSafe 5 Meal Automatic Pet Feeder |
| Item Weight | 3.9 Pounds |
| Item model number | PFD11-13707 |
| Manufacturer | Radio Systems Corporation |
| Manufacturer | Radio Systems Corporation |
| Manufacturer Part Number | PFD11-13707 |
| Manufacturer recommended age | 1 month and up |
| Material Type | Plastic |
| Model Number | PFD11-13707 |
| Operation Mode | Automatic |
| Power Source | Battery Powered |
| Product Care Instructions | Hand Wash Only |
| Product Dimensions | 12.63 x 4.44 x 16 inches; 3.9 Pounds |
| Recommended Uses For Product | Dry Food, Multiple Pets |
| Style | 5-Meal Feeder |
| Target Species | Cat |
| UPC | 729849137073 |
| Unit Count | 1 Count |
| Warranty Description | 1 Year Limited Warranty |
M**Y
My cats are finally getting the hang of it after 5 days.
My cats always wake me up around 4 or 5 am to feed them, no matter how late I give them their last meal of the day. Hoping to avoid having to get up at this hour, I bought two of these units (they each eat different food and in a different location.) Setup was easy enough. I was able to coordinate the two so they activate within roughly 10 seconds of each other. Day one was pure comedy. The cats were nearby their dishes when the motors kicked on (it's kinda loud). They freaked: Fluffed up like they'd stuck their little paws in an electrical outlet, ran, stopped, crouched, and hissed. Once I'd regained my composure, I coaxed each one into coming to look and eventually eat from the bowl. Day two through four, the cats still shy away when the motor turns on, but are no longer freaked out. They still don't 'get it' ... that the sound means food is now available to eat. In order to get them to associate the sound with something good (food), I made an effort to be nearby at mealtimes so when the dishes kicked on, I could say, "Hungry, hungry, hungry?" and then wiggle my fingers in the bowl to show the food was in there. "Hungry" is what I would say when feeding them before, so they already knew what those words meant. I just needed them to make the connection to the sound. Day five. The lightbulb goes on at the last meal of the day. (I feed them a little less than 1/4 cup food every 6 hours.) They got me up at 5:25 am for their first meal of the day, still not realizing food was already sitting in the dishes for them. So, for the next two meals, when the motor kicked on, in addition to repeating the word "hungry", I picked them up and took them immediately to their feeders. Tonight was perfect. The feeders clicked on and both cats ran to their dishes right way and began eating. Hurray! I hope this will also be the case in the wee hours of the morning starting tomorrow. I'm very much looking forward to no longer having to endure their early AM pestering for food. Update after three months: I'm in Heaven! I get to sleep through the night. The cats love their feeders and so do I. My main motivation for getting these was the interrupted sleep, however, it's been really wonderful all the way around. I have only to remember to fill the feeders each evening, and I'm set for 24 hrs ... free to come and go without the worry of hungry cats awaiting my arrival for their next meal. July 2013: Wow! Four years later and I'm still loving these feeders. I think in all this time I've changed the batteries only a couple times. One of the units is still working absolutely perfectly and the other recently started to have difficulty rotating the bowl. It's beginning to stick and in the last couple days, it's happening a lot. Sometimes after a bit of strain it moves but other times it totally sticks and continues to run until I push the bowl. The mechanism that makes it spin seems to be a bit stripped. I've tried rotating the bowl to different positions on the spinner and cleaning it well, but have been unable to resolve the dysfunction. So, rather than waiting until it completely conks out, I decided to purchase another unit. I got four years of near-flawless functioning from this unit, so no complaints, especially since the other one is going strong. I'm looking forward to at least another four years of excellent performance from the new unit. Periodically (every couple of months) I have to resynchronize the bowls. They are running about 1 minute apart by then and I like both cats to start eating at roughly the same time so they are not both trying to eat from the feeder that activates first. This is a very minor inconvenience and if not for having two units that I need to activate together, it would be a non-issue.
K**V
Great Product! cat loves it!
Very impressed with this product! I waited a year to review this product because I wanted to make sure it was durable and what I expected before I posted a review. As you can see from the reviews on automatic cat feeders it is hard to find one with near perfect reviews. They all have reviews with 1 stars for various reasons. I took a chance and ordered this one because it had 5 compartments, the food is set to a timer (you can set multiple timers), and it was decently priced compared to some other products. This is what I have learned after using this product for a long time: 1) When I first bought this, yes, my cat moved the compartment and found food in the side compartment. HOWEVER, I realized it was MY FAULT because I did not close the lip properly so that it "locked". Therefore, she was able to lift the lid with her paw in order to move the compartment. She also made it so the compartments were off and half of 2 compartments were showing. I immediately called them, they were very friendly and sent me a NEW one with a paid return sticker to send the broken one back. From then on, I always check to make sure I push the lid down til it "clicks" and my cat cant get to the other compartments at all. Now, at the time, I called to get it replaced because I thought she broke it but later I realized it wasn't actually broken (see #2) 2) make sure to read all of the instructions about the buttons you can press. I just realized a month ago there is a button that moves the motor (turns the compartments) around even if the timer doesnt go off. So when I left the lid open accidentally when I first bought it my cat first moved the compartments so 2 were showing, half of each. If the compartments ever get "off" from the center hole press this button that moves the motor and after a couple times rotating it, it will eventually be back and centered on the hole again. This is important! I realized I sent back the first product when it actually had nothing wrong with it and could easily be fixed with a push of a button. 3) This product takes a lot of batteries which I thought would suck. BUT, I have not changed the batteries since I first bought it!! So it has been working for a year and still running haha amazing! I still wonder how much longer the batteries will last but its running strong. And now that I know having the batteries isn't actually costing me more money than if it plugged in, I prefer this over a feeder than plugs in because I can put the feeder where ever I want without worrying about a cord. My new apartment doesn't have an outlet in the specific spot I like to put my cats food and water so the batteries are great! 4) You can set many timers. I have 3 set ( 2 morning feedings spread out so she doesnt inhale the food too fast, 1 afternoon treat, and then I give her wet food for dinner). I REALLY trust this product because I have actually used it for "emergencies" when I have to leave for 1-2 days and can't get someone to watch her. It has never failed on me when I have had to rely on it for 2 days. 5) I wash the inside compartments in my dishwasher because I am lazy lol Overall I love this product! My cat loves it too! She no longer wakes me up at 5am for food :D This was one of the cheaper automatic feeders I found that had all of the features I wanted and I am really impressed. I have bought a lot of petsafe products and I am impressed with them all!
S**Y
Fantastic pet feeder
This feeder is fantastic! I got it for treats throughout the day for my Aussie when she occasionally stays at home alone. Set up was easy with clear instructions. Works like a charm. It’s not quiet when it rotates which is like an alert that it’s treat/ feeding time. Food pockets are deep to hold quite a bit of food. The cover snaps firmly in place and the control buttons are hidden inside. Highly recommend!
V**A
Purchased in November with SureFeed Microchip Pet Feeder to feed one of our two cats. Great product, would buy again. CONS: Big and loud, but we have a good spot for it, and the cat can hear when more food has been distributed, so he will come investigate when he hears the feeder. Also useful if you are not by a clock and want to know what time it is! The sound can be startlingly loud, but this is minor and actually can work for you. We had to show the cat a few times where his food was, but he caught on. Better for dry food than wet food. Wet food will dry out if left more than a few hours. PROS: It works! This is a great feeder for the pet that inhales everything. Our cat is definitely an inhaler, and will steal endlessly and without guilt from our other cat whenever he can. An unexpected bonus is that the cat that eats everything has become more laid back with food as he realized he would get food in time and didn't need to constantly beg or aggressively push his way into feeding time. Reduced the number of feedings by probably half, it was getting so every time we entered the room the cats thought it might be feeding time. Note: we put this feeder where our cat could jump up, out of reach of the other cat who can't jump as high. If we weren't able to separate the feeders, we might have had to go RFID or some other option. Affordable. Easy set up and use. I set a bunch of feeding times, so this took a bit of effort, but once you figure it out, it is easy. If you need more than 5 feeding times, you will need to fill the feeder more than once during the day. Easy cleaning. Feeder plate is dishwasher safe. Battery-powered so not affected by power outages.
Z**T
i bought two pcs of this feeder, the rotation was weird, it skipped the next bowl and went back to the empty bowl, and i trust it, it will do the job while i am away for 3 days, the wet food spoiled and my cat straved.
F**A
Der Futterautomat wurde schnell geliefert, war über die ziemlich große Größe erstaunt, dachte er wäre kleiner.Aber er ist perfekt, es passt genug Futter rein , sogar ziemlich viel,ist sehr leicht zu reinigen,stabil und schwer. Hab mich dann gleich an die Gebrauchsanweisung gemacht, hatte bei den anderen Kundenbeurteilungen gelesen das sie auf englisch ist. Ist sie auch, aber auch für "a little bit english" ist die Programmierung echt simpel.Die Uhrzeiteinstellung ist natürlich auch am und pm, auf einem Display einzustellen, auf die Minute genau, richtig toll! Also Batterie besorgt und eingesetzt(ist nicht im Lieferumfang enthalten), Zeiten eingestellt und den ersten Versuch gestartet.Funktioniert Top!Bin aber erstmal ganz schön erschrocken wo das Gerät den Teller gedreht hat, ist etwas laut!Aber daran gewöhnt man sich und der Kater überhört es auch nie und rennt wie von der Tarantel gestochen ans Essen!Mit dem Futterautomat kann man 4 Mahlzeiten vorbereiten, die sich dann bei der eingestellten Uhrzeit zur Öffung drehen.Er ist sowohl für Trocken- und Nassfutter perfekt geeignet! Das war auch der Grund das ich genau diesen Futterautomat ausgewählt habe, weil er perfekt für Nassfutter ist und meiner hauptsächlich nur das isst.Der Deckel verdeckt perfekt das Futter, es kann nicht hin und her gerüttelt werden und auslaufen.Ausserdem sind die Portionsteller auch gut tief.Und jetzt im Sommer haben wir auch kein Problem mit den hohen Temperaturen und dem Futter im Automaten, dadurch das er auf den kalten Bodenfliesen und gut verschlossen ist, bleibt das Futter immer frisch. Mein gieriges Tigerchen, hat gleich mal den Futterautomat quär durch die Küche geschoben und mit der Pfote probiert den Deckel zu öffnen:keine Chance,der Deckel bleibt zu, der Futterautomat ist auch zu schwer um umzukippen.Und auf das Drehen des Tellers um an die nächste Mahlzeit kommen, erfordert einiges an Kraft für den Kater und wurde deshalb von ihm gar nicht angewendet.Ab dem zweiten Tag mussten wir uns was einfallen lassen, weil der nächtliche Lärm mit dem durch die Küche schieben einfach zu laut war.Und da haben wir eine Küchenleiste entfernt und den Futterautomaten daruntergeschoben und er past perfekt rein und sitz bombenfest! Beachten muss man, das der Teller immer gut aufgesetzt wurde, ansonsten kann er sich nicht drehen und Kater sitz da, riecht das Futter aber kommt nicht ran. Man kriegt das aber auch schnell in Griff und weiss wann der Teller gut aufgesetzt wurde.Hatte auch ein paar Probeversuche gemacht, was in den nächsten Napf reingetan, Uhrzeit eingestellt und gewartet ob alles gut funktioniert.Und so hat man es schnell raus, wie der Teller sitzten muss. Jedenfalls ist der Futterautomat einfach nur Spitze! Wir könnnen endlich mal am Wochenende ausschlafen!!! Werden vom Kater nicht mitten in der Nacht geweckt um ihn zu füttern, dass macht jetzt der Futterautomat. Oder ob man mal ein Wochende wegfahren möchte, mal nen Tagesausflug macht oder es einfach die Arbeitszeiten abverlangen, es funktioniert alles perfekt! Wir sind einfach nur begeistert vom PetSafe Futterautomat und empfehlen es uneingeschränkt jedem Katzenbesitzer!
F**A
The clear container holds water to stop ants , the blue container raises it away from water. The auto feeder stops wild birds eating all the dog biscuits. Meant to be indoor use but it works well under shelter raised
V**U
Works flawlessly, except for one problem - the food tray has been designed in such a way that with every rotation, one entire food bowl AND 10% of the next food bowl shows up through the cutout on top. This essentially means that my cat is able to get a good paw-grip into the next food bowl and pull it out towards the opening, without having to wait for the preset time. I'm sure this might damage the motor, not to mention defeat the whole purpose of having an automatic pet feeder with preset timings. So I did a bit of good ol' "Indian Jugaad" and taped a piece of plastic (lid of a sweet-box) such that the cut-out size on top is reduced, effectively not letting Kitty reach the next food bowl. Not that it stopped Kitty from trying to get to it. But once she realized it was too much effort and anyway, she eventually gets that food, she gave up. Now she just sits across from it, trying to telekinetically rotate the feeder with such intense glares! It has bettered her food anxiety and put us at peace too. Highly recommend this product. Maybe mine was a slightly defective piece and the other pieces won't have this problem of the next bowl showing up.
ترست بايلوت
منذ شهر
منذ 3 أيام