🎉 Bubble Up Your Creativity!
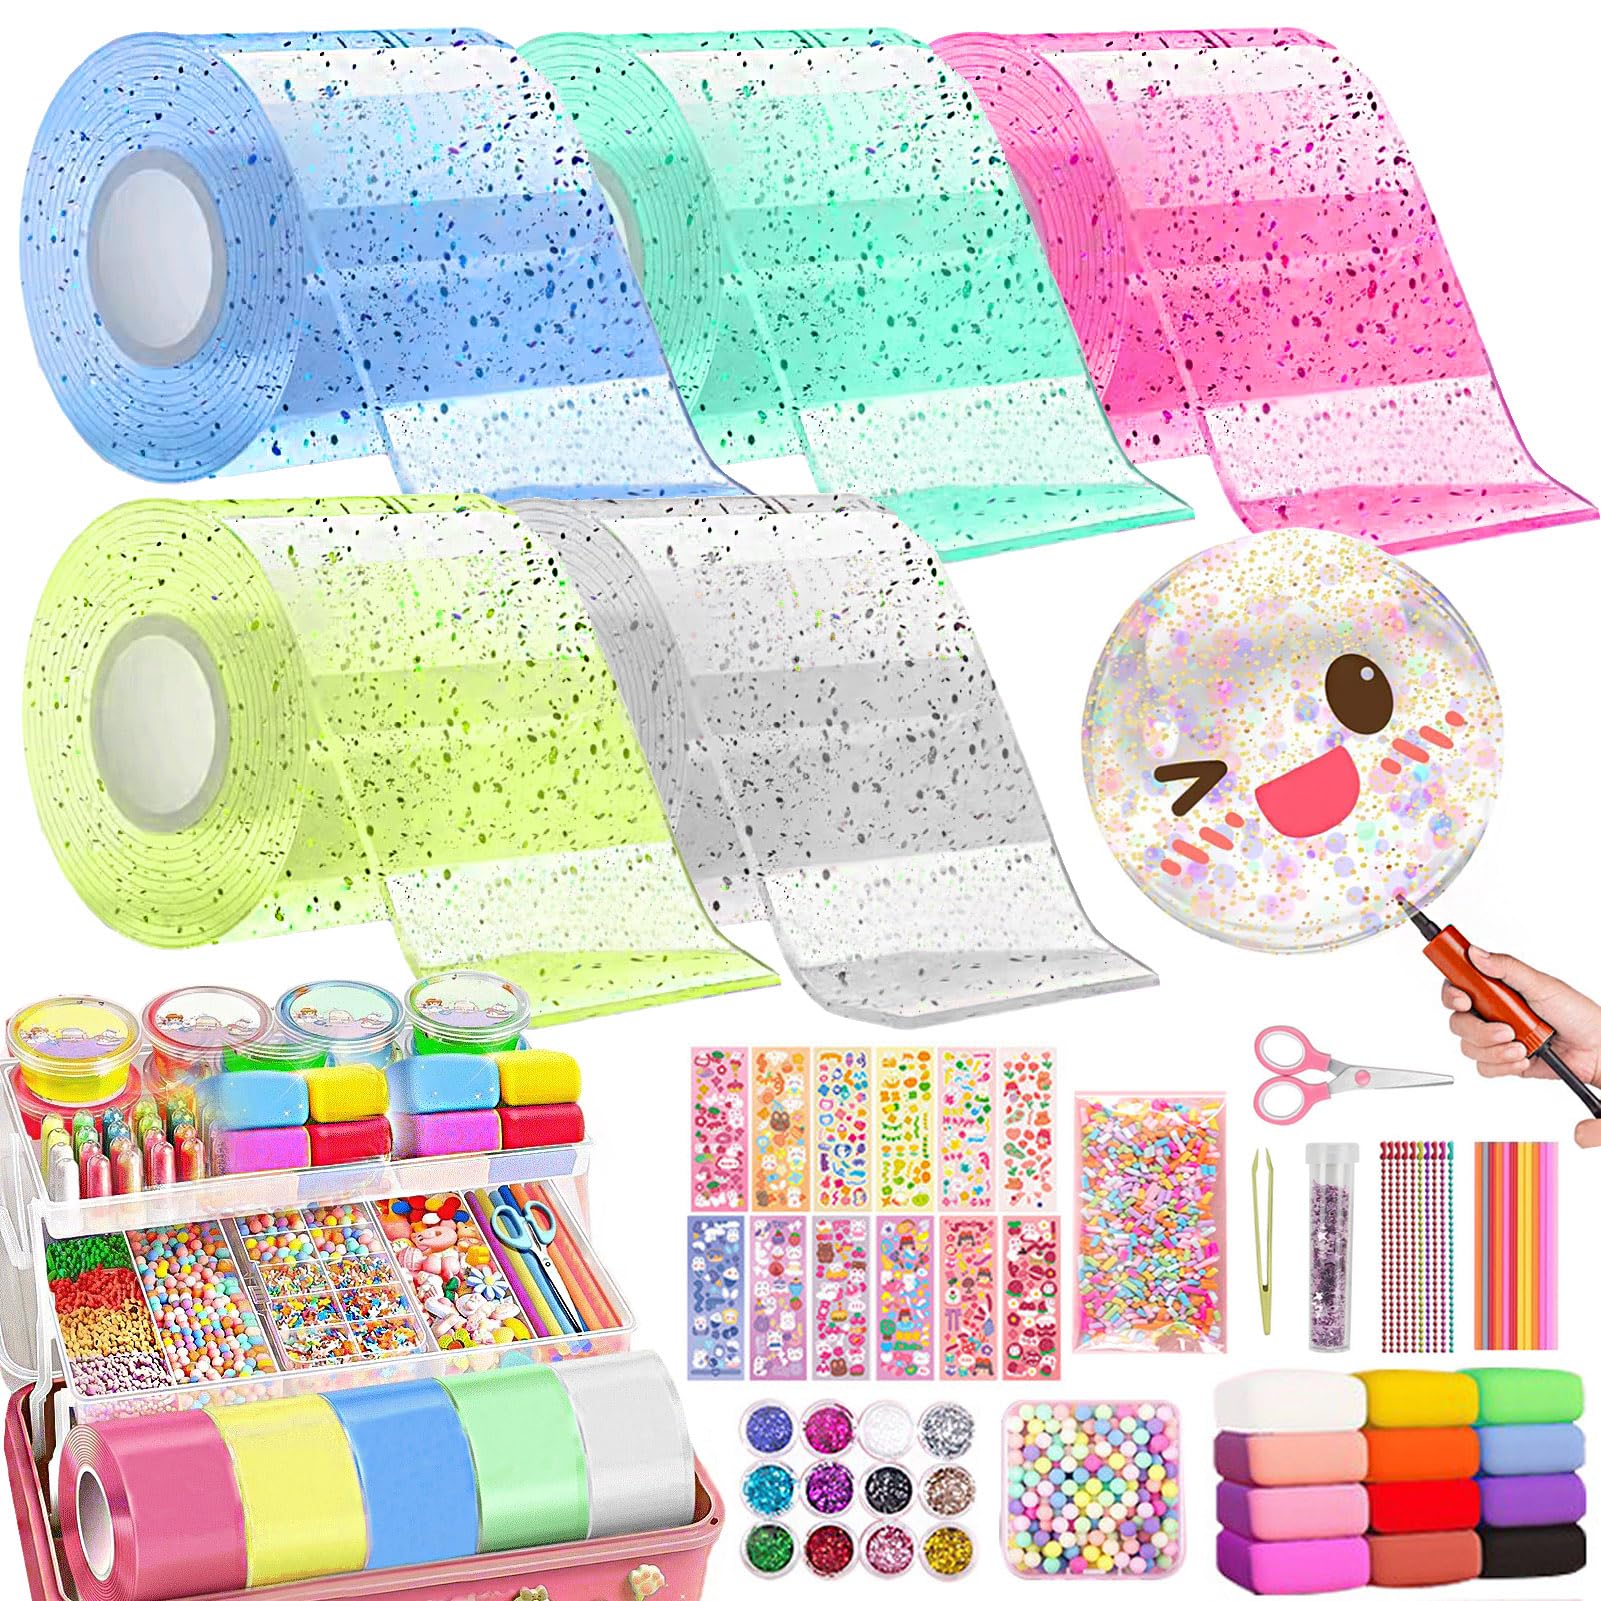
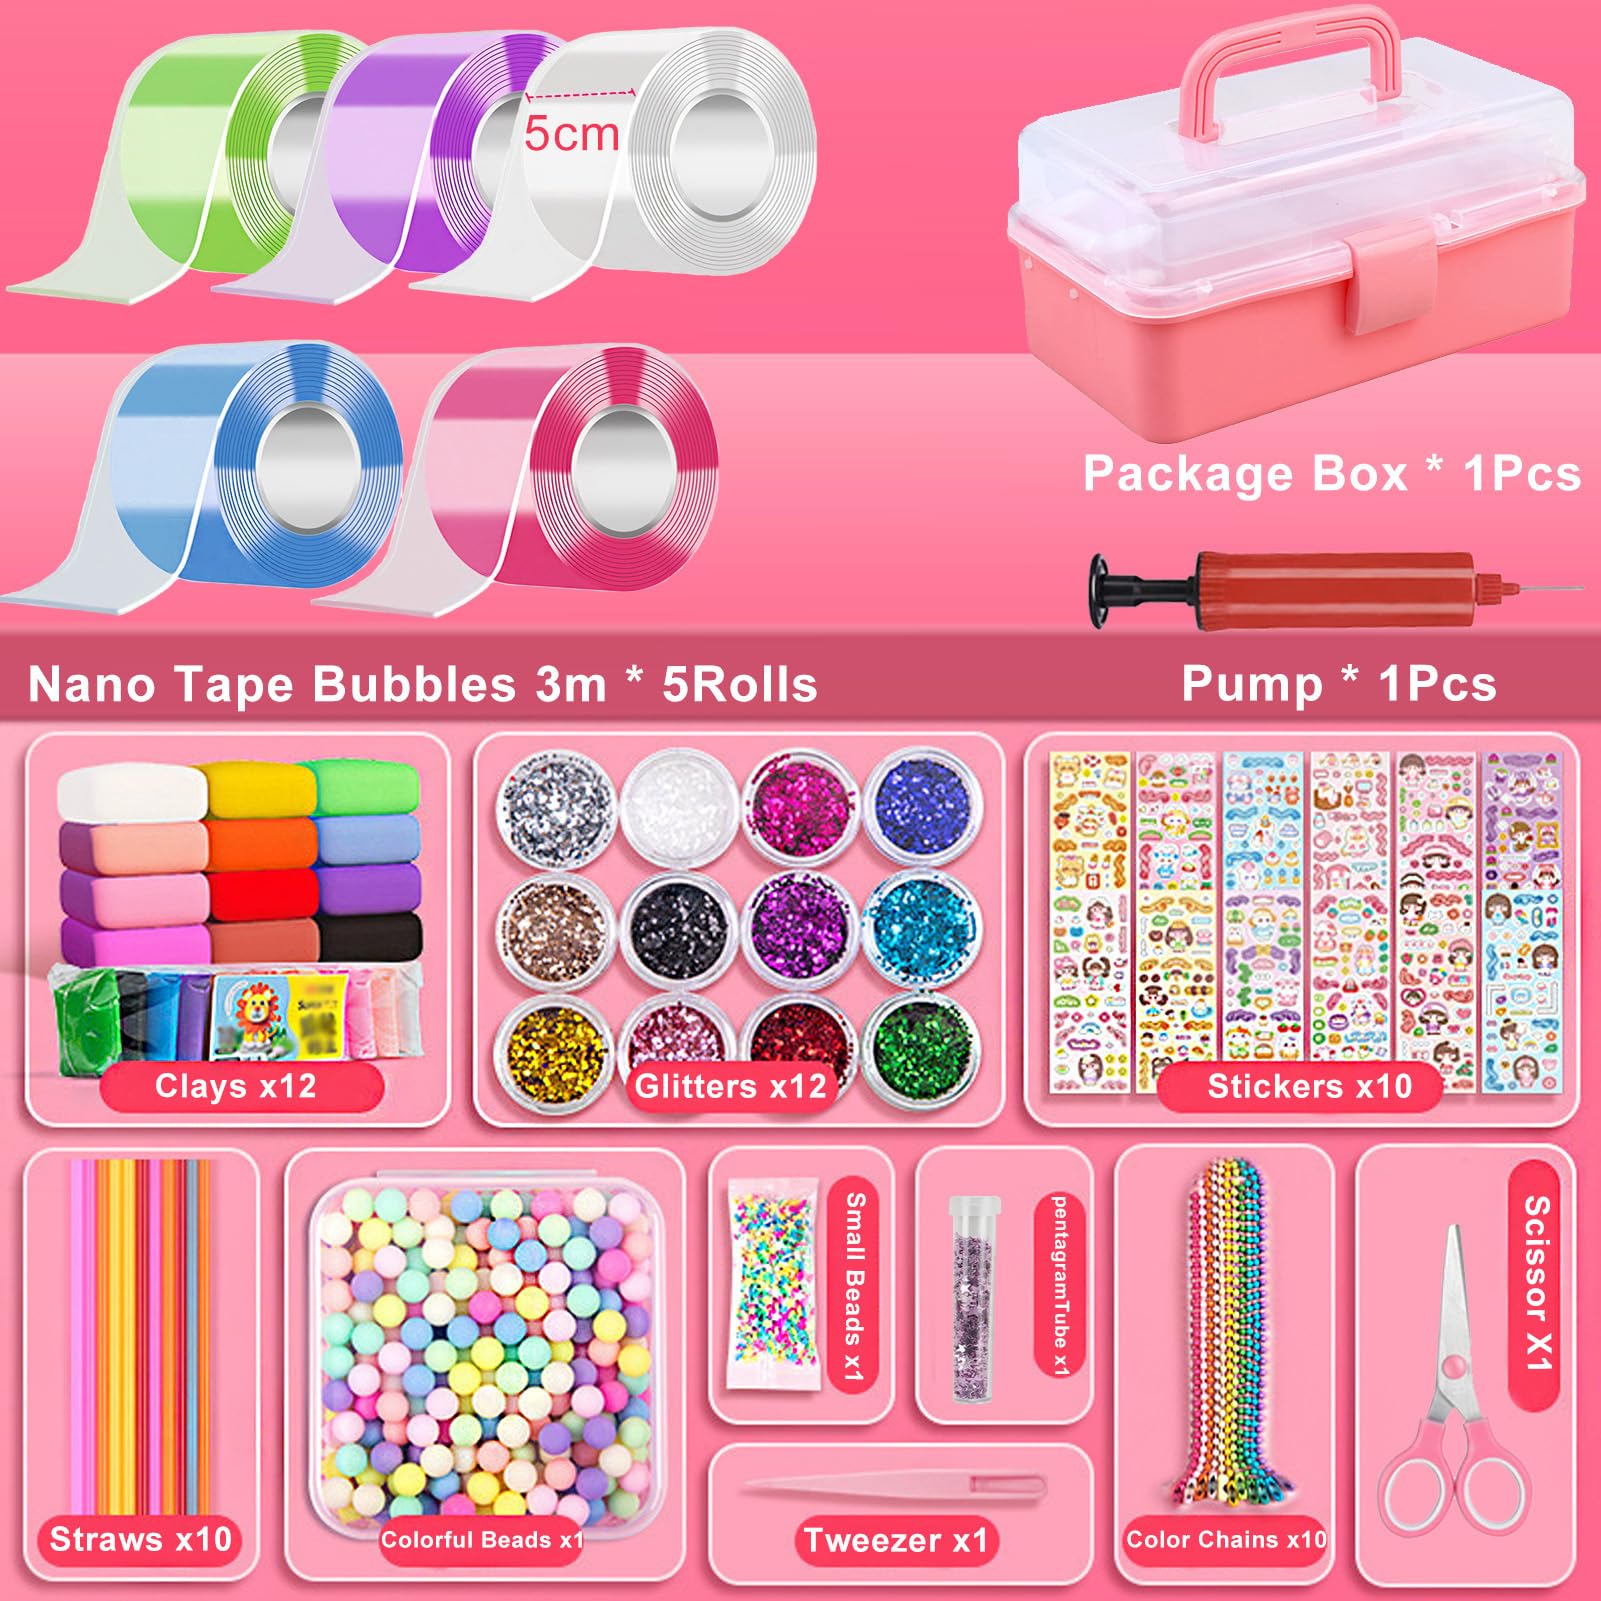
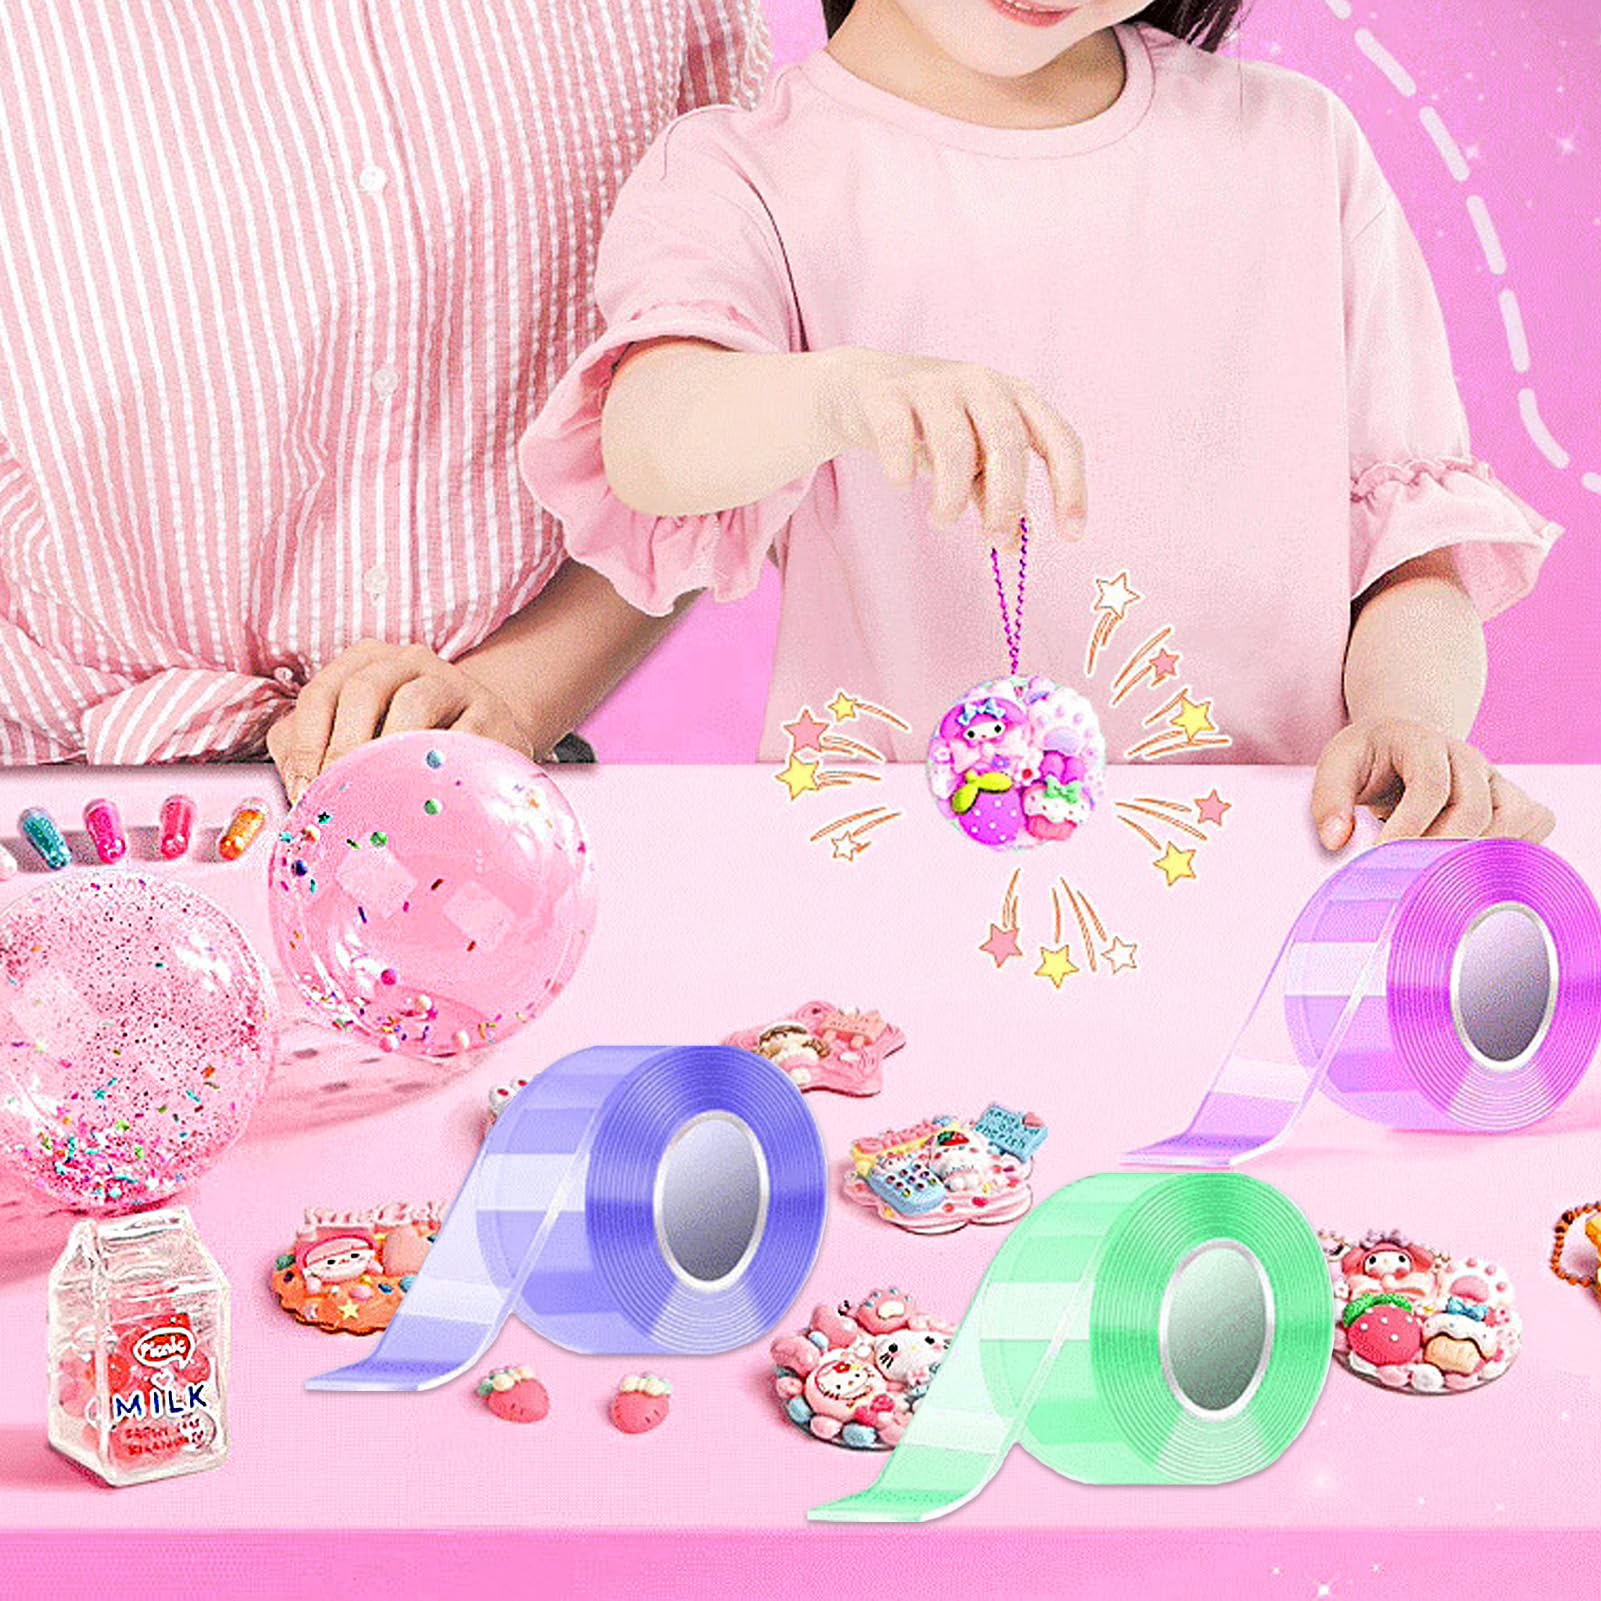
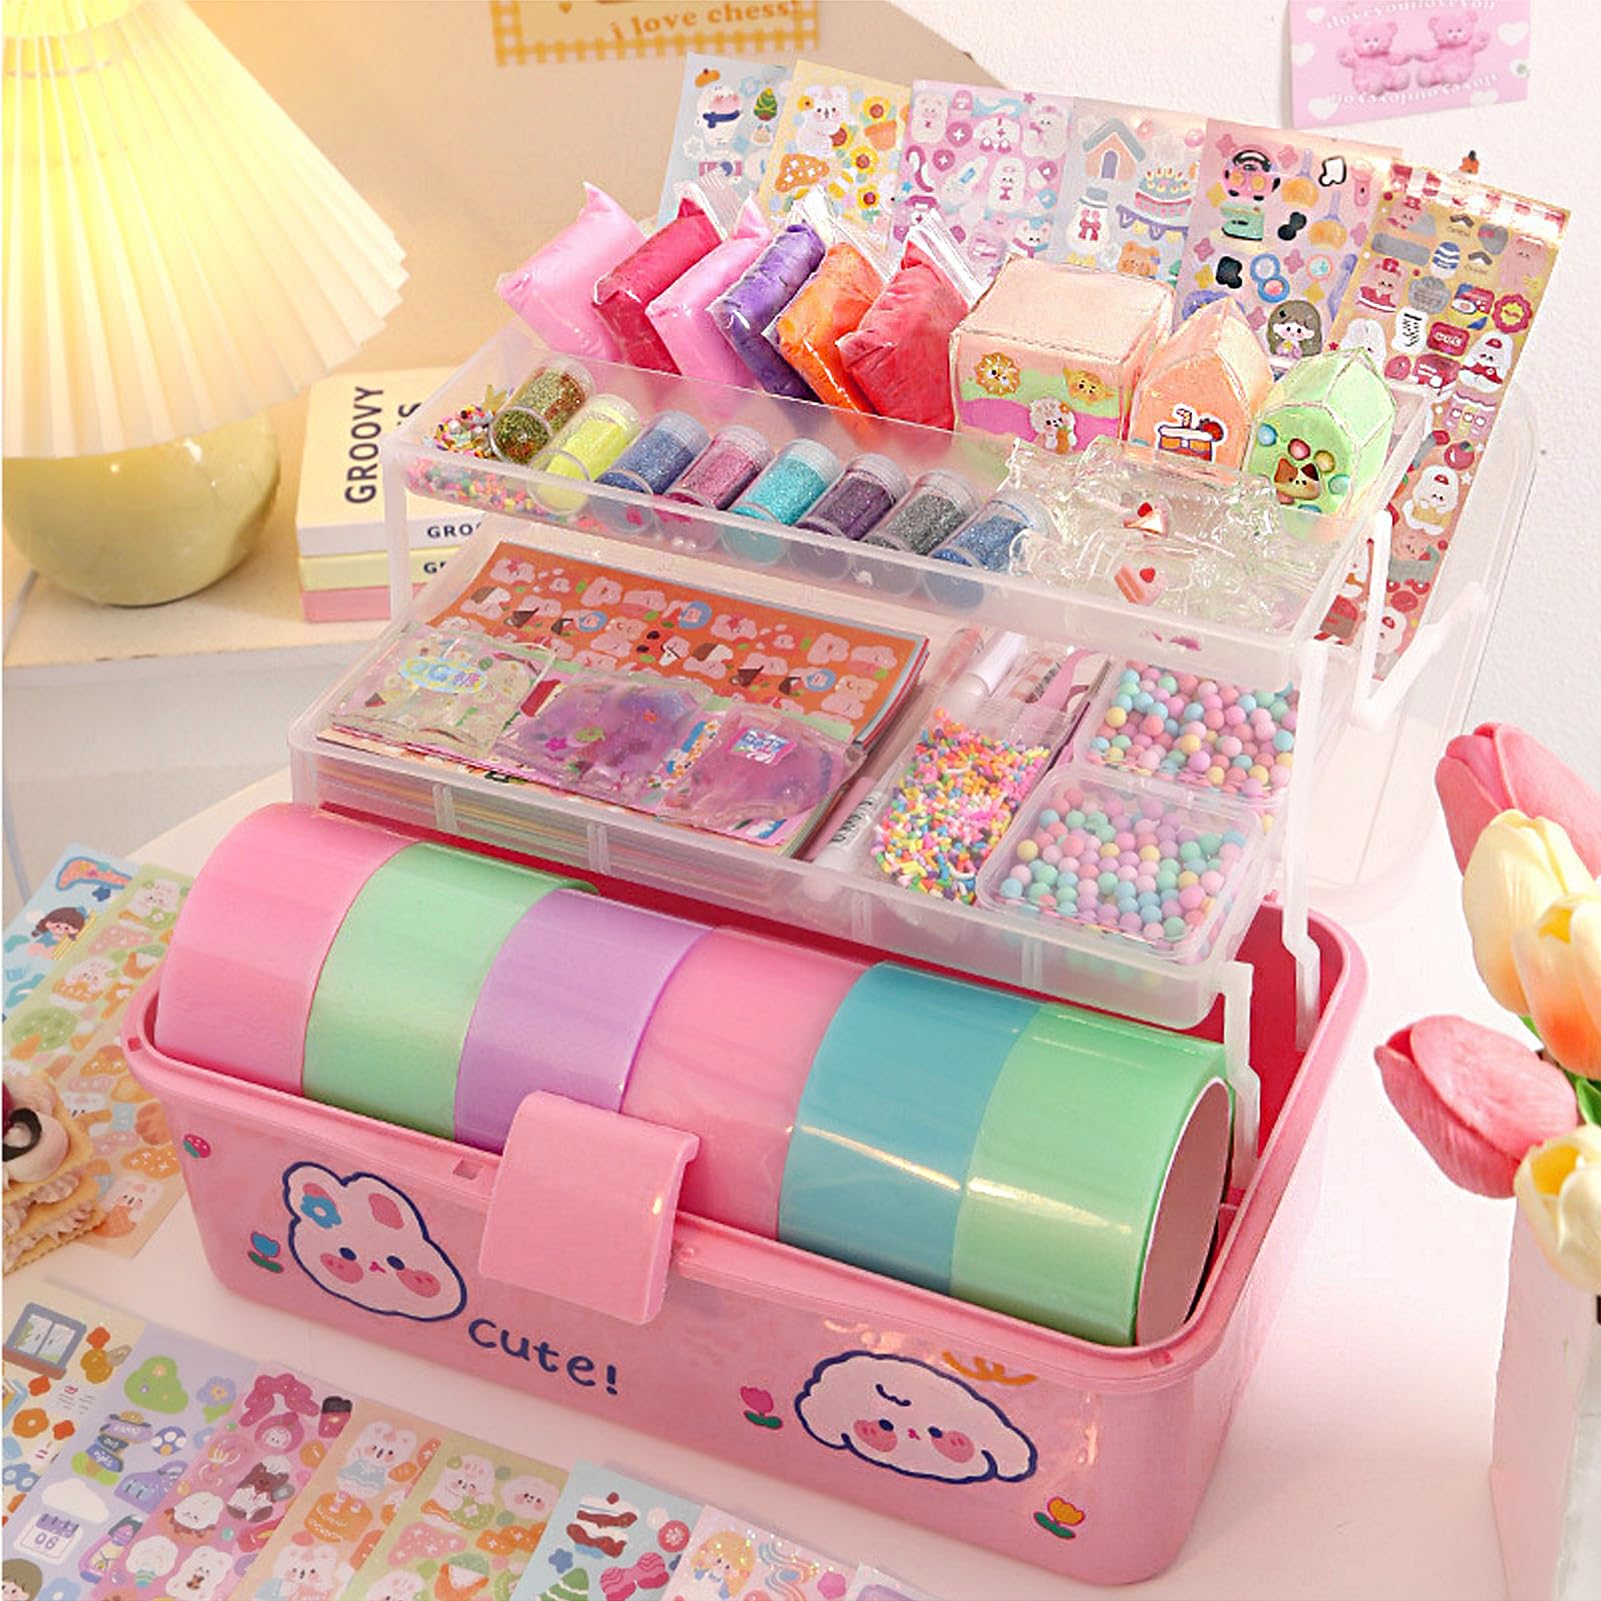
The kuosbiu Nano Tape Bubble Kit for Kids includes 66 pieces, featuring 5 rolls of durable nano tape, colorful clay, cute stickers, and more, designed to inspire creativity and imaginative play. Perfect for family fun, this kit is easy to use and makes a fantastic gift for any occasion.
| Number of Pieces | 5 |
S**.
Unusual and intriguing craft
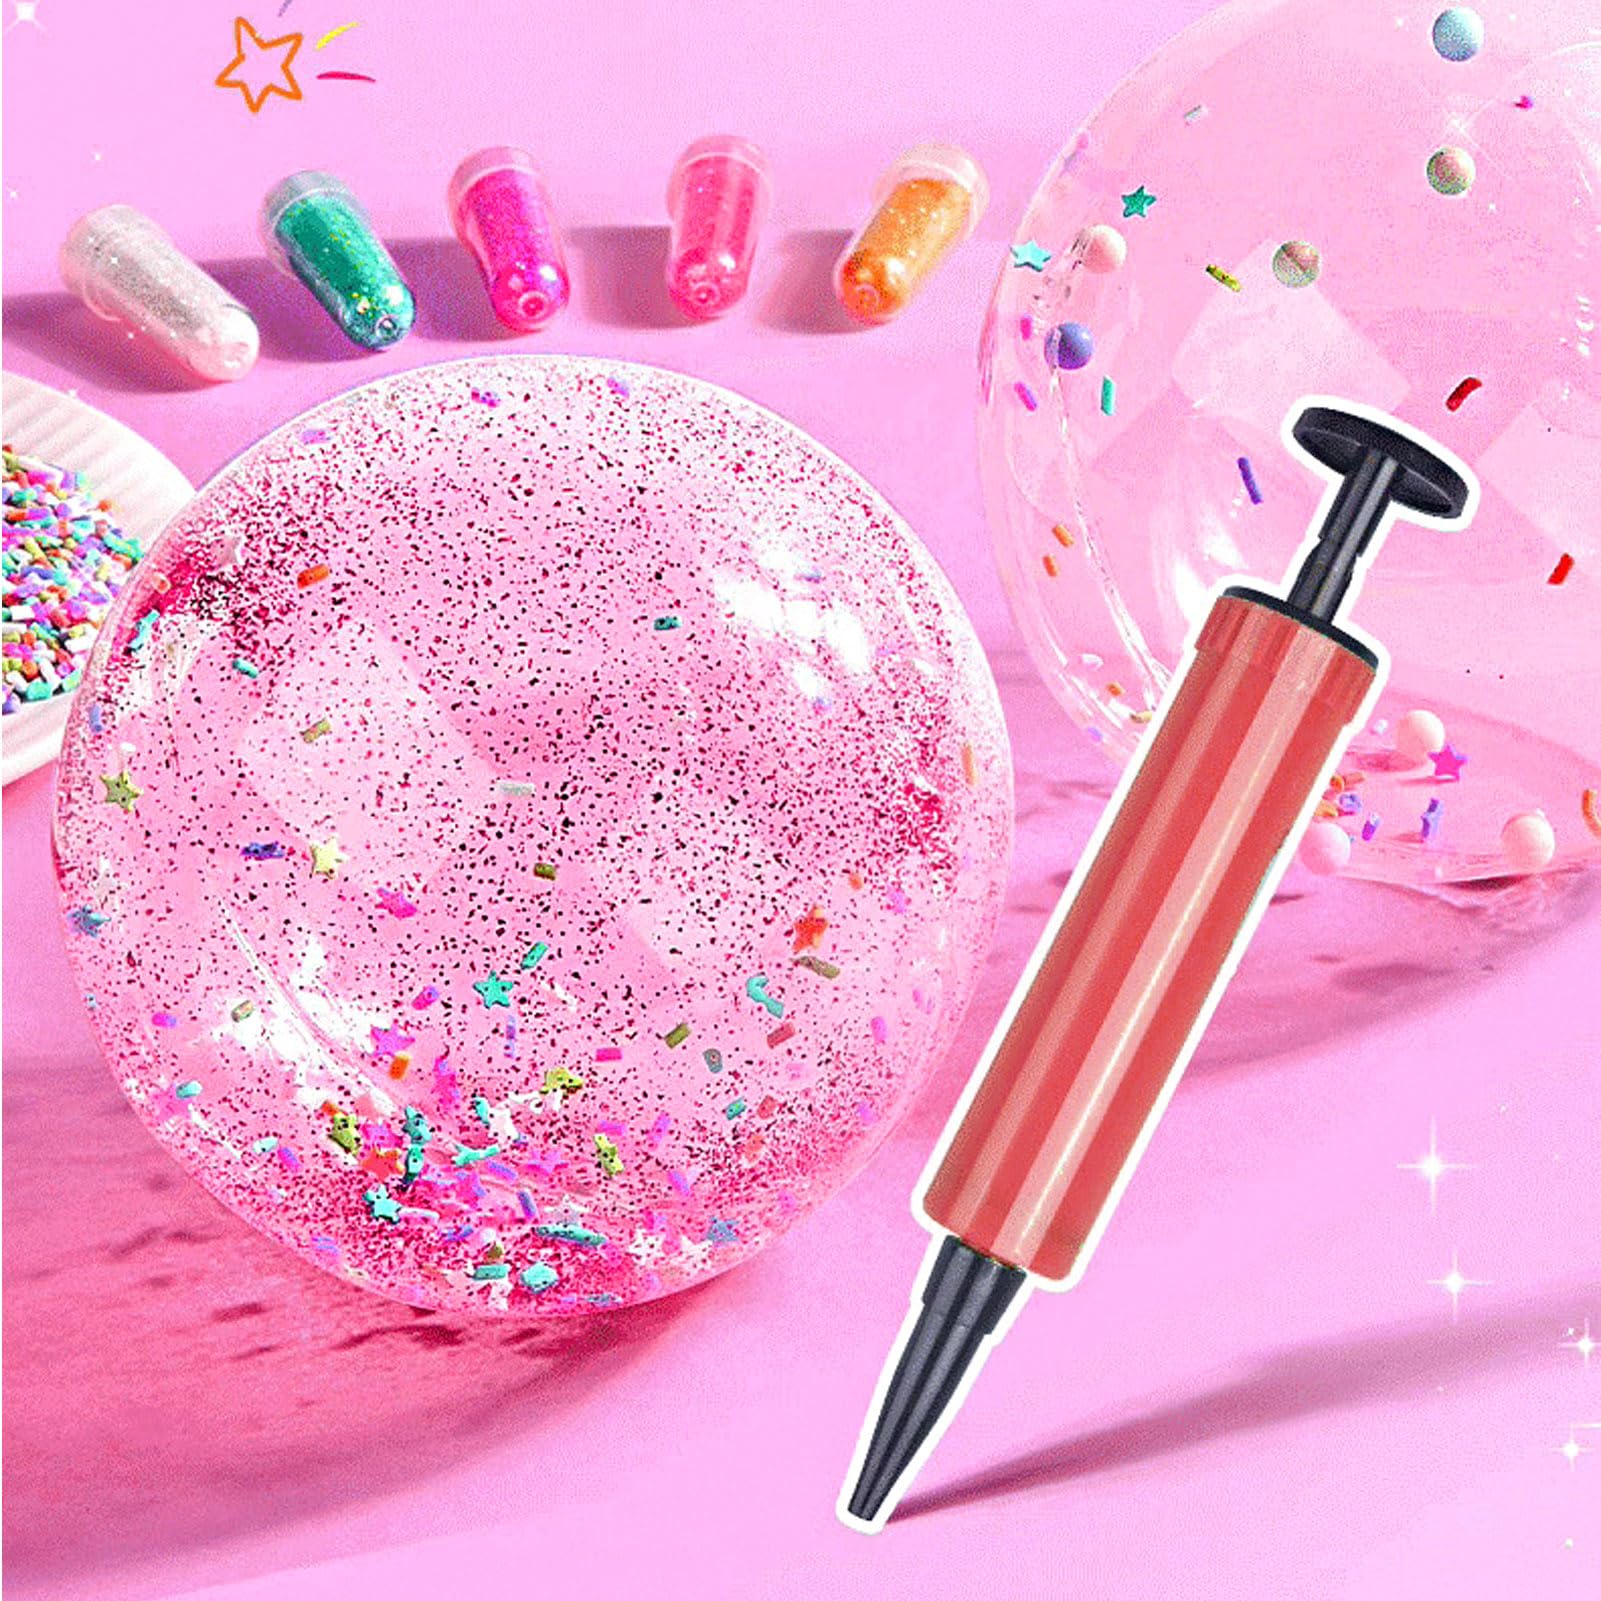
Nano tape was a whole new craft experience for us. There are lots of ideas for using it on YouTube. Be sure to watch this one: "How to make Nano tape bubbles! This method works every time." by Maqaroon.I recommend using better scissor than those provided to cut the tape. You will need a hair dryer, not included. Lots of fun inclusions for your bubbles come with the set. I confess, I hid the glitter and used just the larger items. We are going to try leftover diamond painting beads inside.These cute balloons are fragile and don't last long, but they are entertaining to make. You get enough Nano tape to make quite a few! The thicker parts stay sticky. Work on a surface that will tolerate getting messy. You can remove it easily by heating with the hair dryer and peeling it off.The science behind Nano tape is fascinating. Read this from Wikipedia: "Nano tape, also called gecko tape; is a synthetic adhesive tape consisting of arrays of carbon nanotubes transferred onto a backing material of flexible polymer tape. These arrays are called synthetic setae and mimic the nanostructures found on the toes of a gecko; this is an example of biomimicry. The adhesion is achieved not with chemical adhesives, but via van der Waals forces, which are weak electric forces generated between two atoms or molecules that are very close to each other." The rest of this article is interesting reading.
M**S
Fun, temporary sticky bubbles
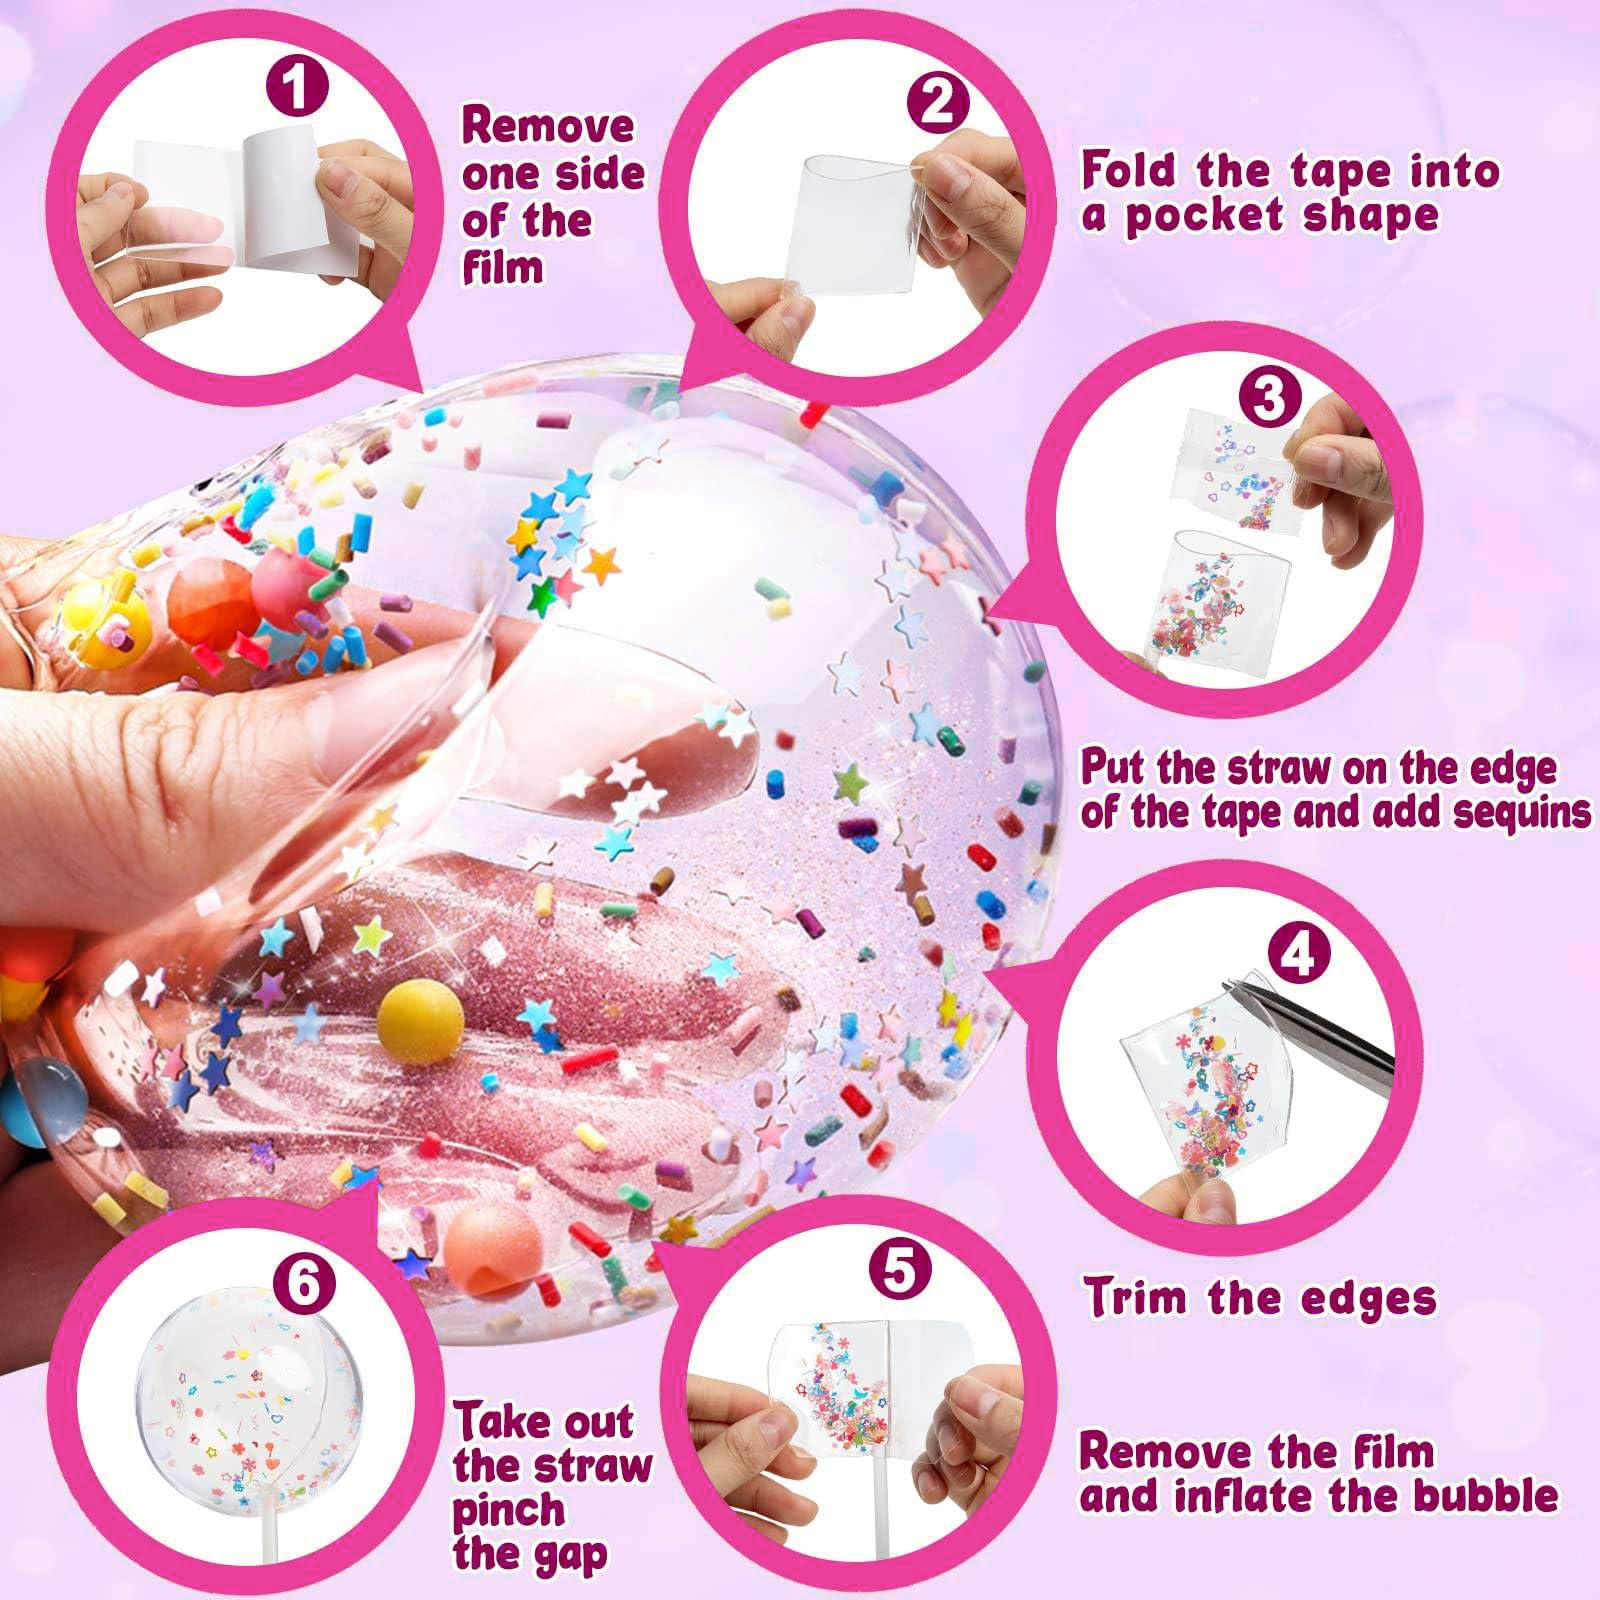
I made several of these with my 9 year old and 5 year old and they are a bit on the young side to be doing them themselves.The kit has everything you need except for a hair dryer. You should watch some videos to understand how to use this kit as it comes with no instructions. We were impressed with a video by Maqaroon on YouTube titled “How to make nano tape bubbles! This method works every time.”Also, before you start, throw away the included terrible scissors and use some good scissors.Cut a small square of tape, lay the straw about 1/4” in one edge, then seal the tape around the straw leaving an empty bubble in the middle. Using the scissors cut around the bubble so you have a half circle of tape bubbled around the straw. Remove the outer layer of plastic from the tape. It will be very sticky at this point. Turn on the hair dryer and heat up the tape for 30-60 seconds, then blow into the straw. My 5 year old didn’t have the blowing strength to inflate it but my 9 year old did. It’ll inflate and you’ll probably need to seal a few holes while blowing until it stays open without adding more air. Then, using your thumb and two forefingers, pinch the balloon just beyond the end of the straw and pull it off the straw sealing it as you pull.With luck you now have a balloon.These are fragile and aren’t intended to last long. Further, the thicker parts are still very sticky and may permanently adhere to some surfaces such as soft plastics. You’ll probably want to do this on a surface that can get messy.Next time add glitter or beads to the little bubble before heating and inflating it.It’s fun and the kids had a good time. It includes several straws and a lot of tape, as well as glitter in a lot of colors and a few other things that can be added.
O**E
My daughter adored this kit
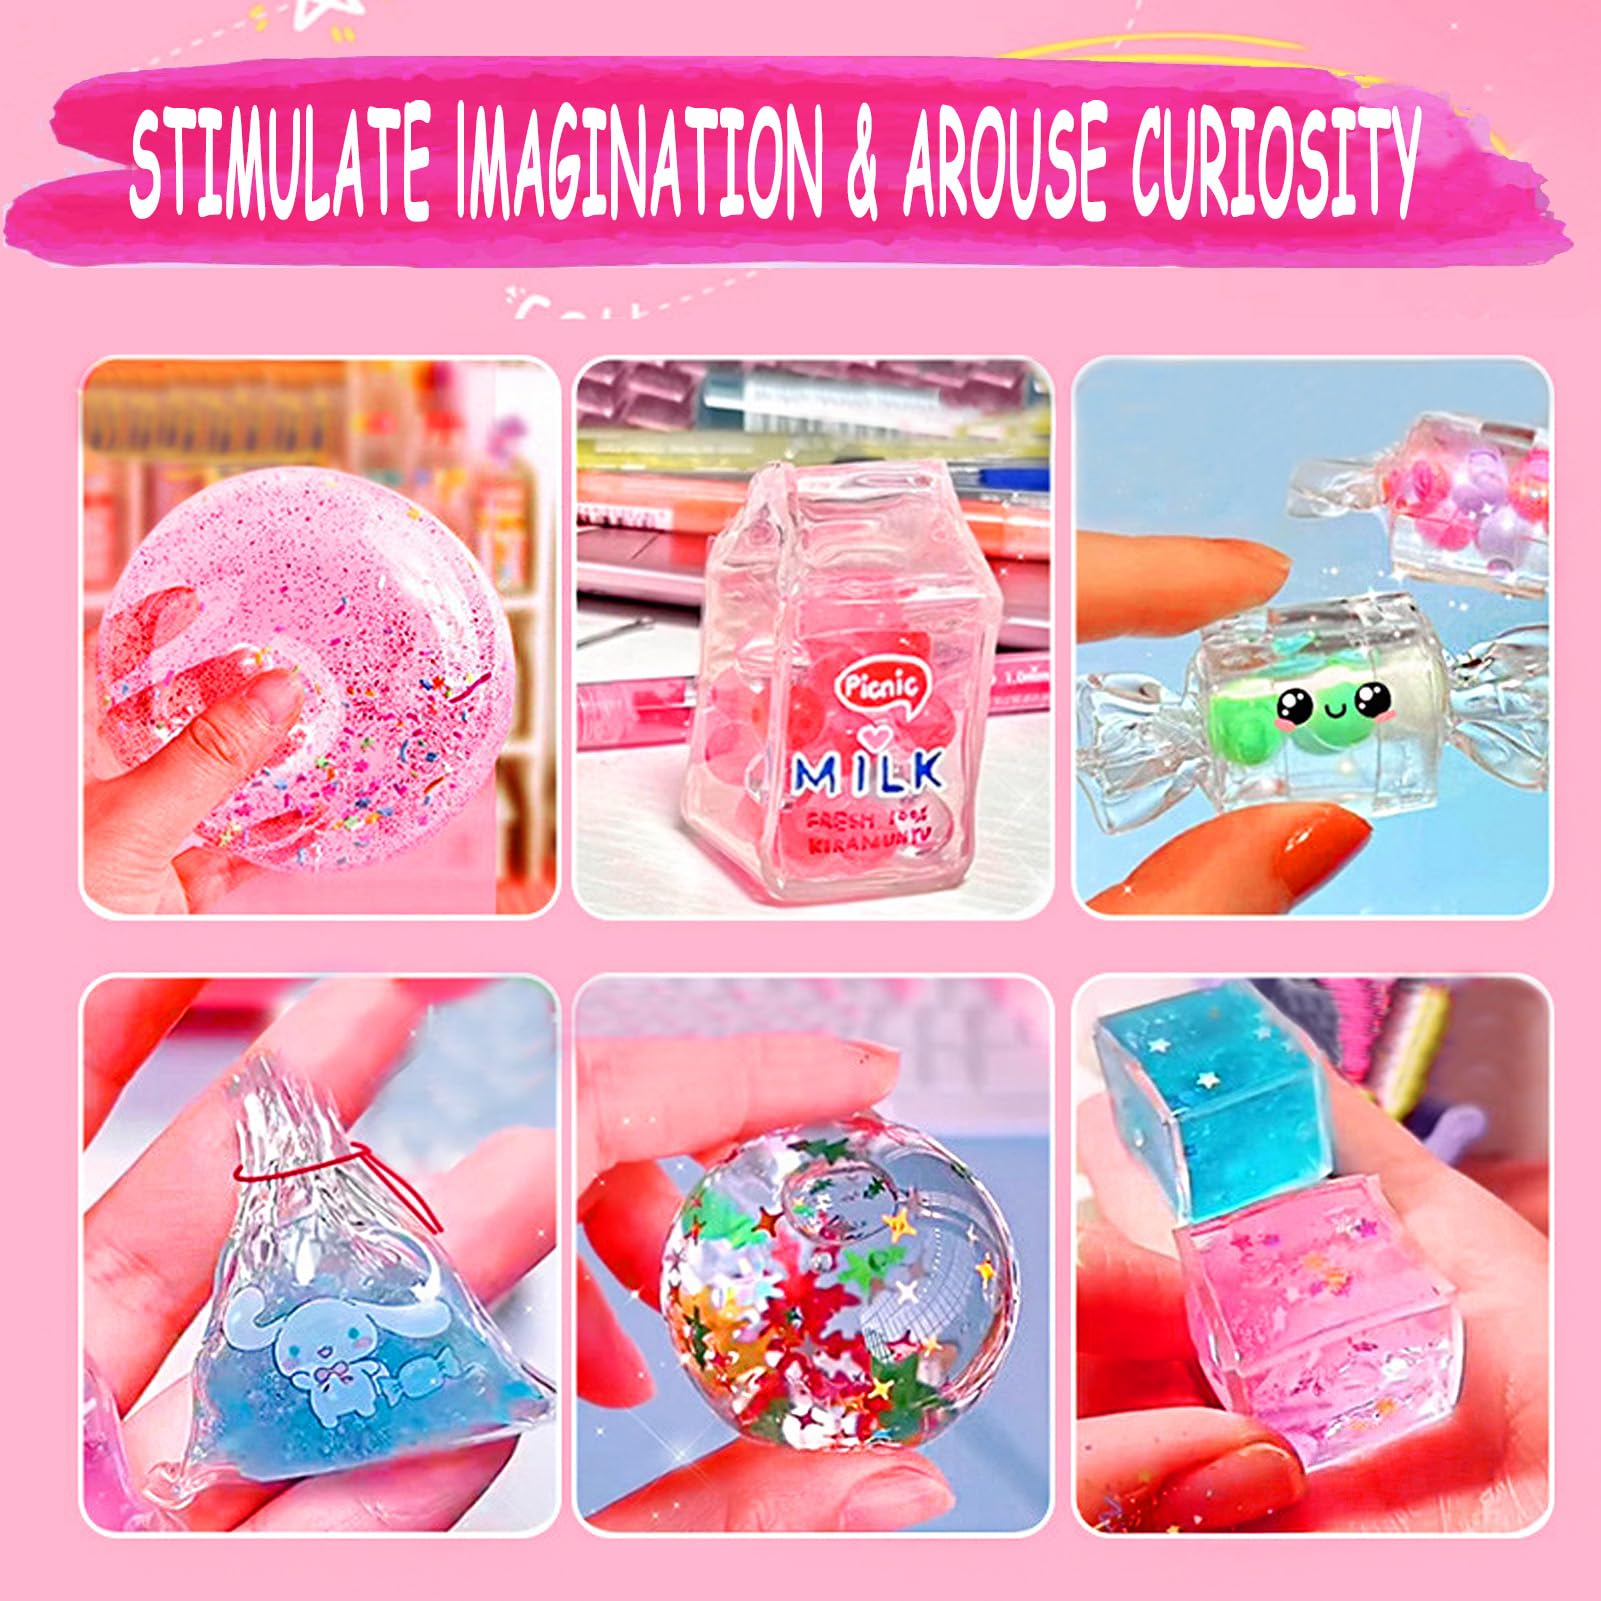
My daughter asked for this for her birthday, and I really didn't understand what it was, other than a craft kit of some sort. Well, she did. She had a blast making bubbles from the tape with things inside the bubbles, like glitter. It has other things you can insert like beads and small toys. Basically the tape is thick and rubbery, and you fold it over on itself with a tube into the middle of the fold and you can blow it up and make a balloon or bubble out of it. The tape sticks to itself so seals up easily on the edges as well as the end when you remove the tube. There was enough of the bubble tape for her to make all sorts of variants and basically try all the various ways of making bubbles one might imagine. She has used it all up now, and it seems to have exhausted her desire to make bubble tape things--at least for now. She hasn't asked for any more of the stuff, at any rate.
I**Y
Mixed feelings
I had great hopes for this, the idea seems super fun...but there are NO instructions, if like us, you've never used this before, it can be very frustrating. We had to watch several videos to figure out how this works. It takes some practice to figure out how to inflate them so they don't just pop or look awful. So far the bubbles don't seem to stay inflated very long, this is a short lived activity. Overall I want to like it, but without instructions, it's a lot of time figuring out how to use it, makes a huge mess with all the glitter and sticky tape waste, and the actual fun part is so short lived you end up throwing most of it away afterwards. Seems a bit wasteful and you'd need some really patient kids to enjoy this. I would not recommend this.
S**R
Great kids project and craft
A great craft project. These are easy to use and fun to do. Most any age can blow these bubbles. This kit has tons of supplies to make lots of bubbles. They will last a while on a shelf or just kids playing with them but not long when given to dogs. 😳
ترست بايلوت
منذ شهر
منذ شهر
