Description
⚙️ Upgrade your ride’s backbone with precision-engineered power mounts!
- ADVANCED QUALITY ASSURANCE - Manufactured with cutting-edge lab testing to exceed OEM standards, guaranteeing long-lasting performance.
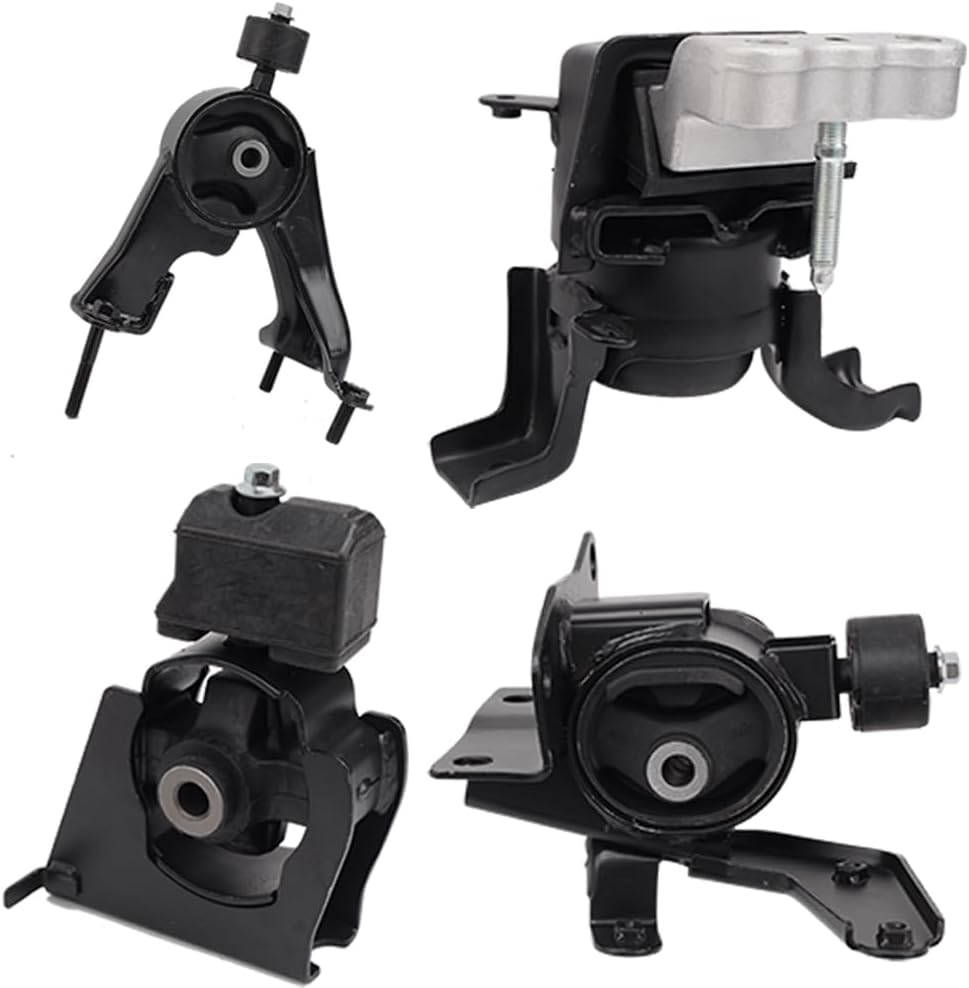
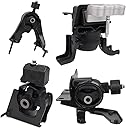
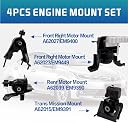
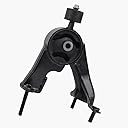
- COMPLETE 4 PIECE MOUNT KIT - Includes all necessary mounts for engine and transmission, simplifying installation and restoring factory stability.
- PREMIUM CARBON STEEL CONSTRUCTION - Built from high-grade carbon steel with powder-coated finish for superior strength and corrosion resistance.
- TRUSTED RELIABILITY WITH WARRANTY - Backed by a 1-year warranty and top-rated by 274+ customers with a 4.6-star average—drive with confidence.
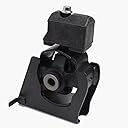
- PRECISION ENGINE TRANSMISSION FIT - Direct OE replacement ensures seamless compatibility with 2009-2013 Corolla, Matrix, and 2009-2010 Pontiac Vibe 1.8L automatic transmissions.
This 4-piece Engine Motor and Transmission Mount Kit is a direct OE replacement designed for 2009-2013 Corolla and Matrix 1.8L automatic transmissions, as well as 2009-2010 Pontiac Vibe 1.8L. Crafted from durable carbon steel with a powder-coated finish, it offers superior strength and corrosion resistance. Tested with advanced lab equipment to meet and exceed OEM standards, this kit ensures factory-level fit and performance. Backed by a 1-year warranty and highly rated by users, it’s the ultimate upgrade for restoring engine stability and smooth driving experience.