Description
☀️ Power your passion with smart solar coding innovation!
- CODE LIKE A PRO - Supports both ACECode graphical and Arduino IDE text programming to match your evolving coding skills.
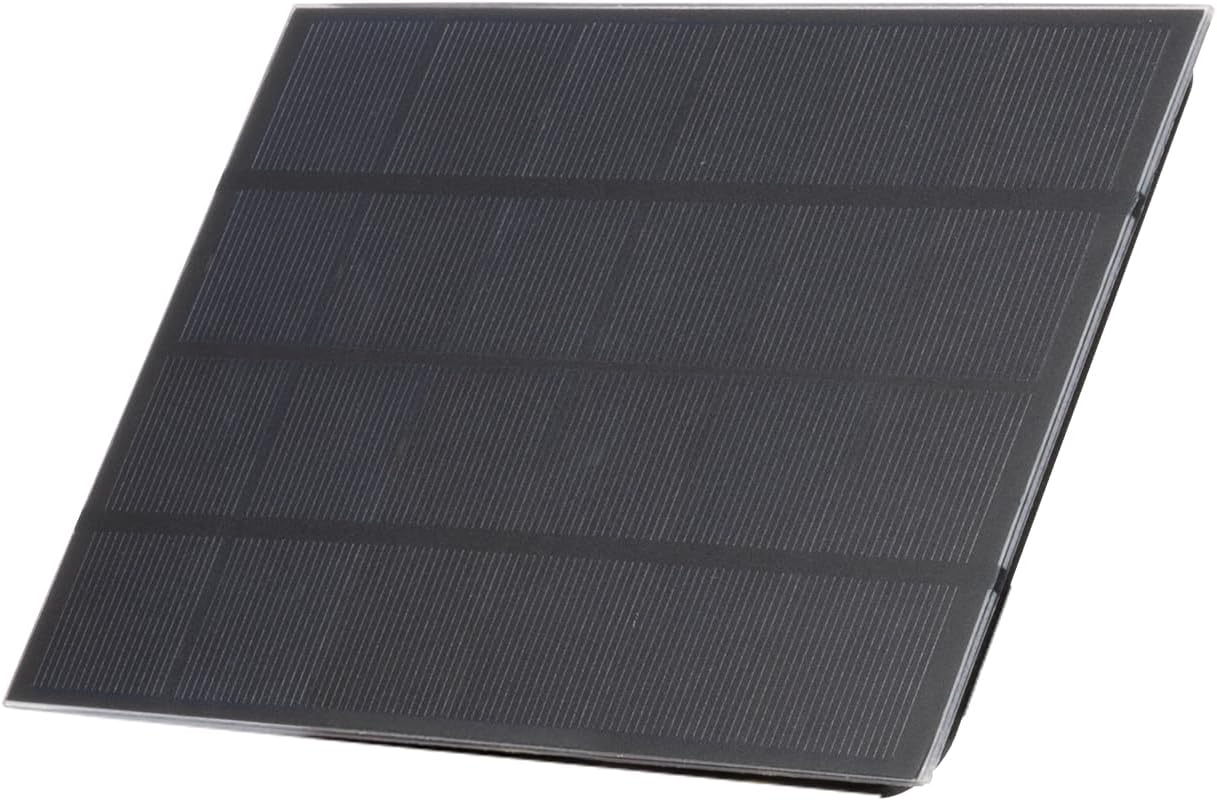
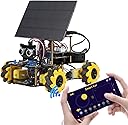
- PRECISION SOLAR TRACKING - PTZ servo motor enables automatic/manual solar panel angle adjustment for maximum energy efficiency.
- HARNESS THE SUNS POWER - Advanced solar panel converts sunlight into sustainable battery energy for long-lasting performance.
- STEP BY STEP STEM MASTERY - Detailed assembly guides and coding tutorials make complex robotics accessible and fun.
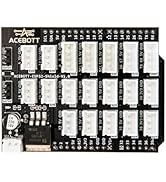
- FUTURE READY LEARNING PLATFORM - Open-source ESP32 controller fosters creativity, problem-solving, and hands-on tech skills.
The ACEBOTT Smart Car Solar Energy Expansion Pack is a cutting-edge STEM kit designed for ages 16+, featuring a solar panel with PTZ servo for dynamic light tracking, an ESP32-based Arduino open-source platform for flexible programming, and comprehensive tutorials. It empowers users to explore renewable energy, robotics, and coding through hands-on assembly and remote control, making it an ideal educational tool for aspiring tech innovators.